
Excel Current Date and Time
It helps you organize your data according to the calendar.

Updated:
December 16, 2022Excel has many cool features that can help make your tasks quicker and more efficient. The features also help you to do a lot of analysis and changes in your data.

Excel provides different ways of extracting, changing, and transforming the calendar in your worksheet. One such feature is the current date and time, which can help you organize your data according to the calendar.
Whether you need a current date and time after completing your project or a dynamic function so that you have an idea of when things changed in your excel sheet.
Whatever the reason, you need to know what function to use to achieve this. Instead of typing the date as an amateur, use shortcut keys or formulas to become a pro. Below you will find all the information you need to know about the current date and time in excel.
Dynamic v/s Static
There are two kinds of functions that return date and time. Dynamic processes update the computer's calendar, whereas static functions only return the current date and time of the moment they were executed.
| Dynamic | Static |
|---|---|
| The function TODAY and NOW are both dynamic, i.e., the date and time will automatically update whenever you open the file. | The shortcuts CTRL + ; and CTRL + SHIFT + ; return date and time, respectively, but do not Update when the file is reopened later. |
| Pressing the F9 key updates the calendar in an open file. | You will have to update it manually. |
| Any new change or running a function will update the calendar | Does not happen in this case. |
a) How to use the Dynamic functions
Two dynamic functions in Excel can be used to bring the current calendar period to your cell. They are;
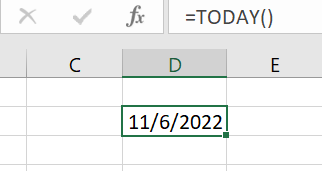
Today function: This function only returns the date and not the time. It is a simple function with no arguments needed.
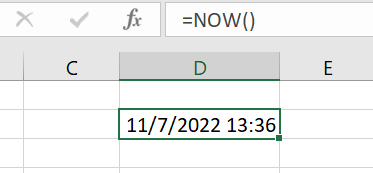
Now function: This function returns both date and time. This function is simple and does not need any arguments.
b) How to use the Static functions
Two static functions in Excel can be used to bring the current calendar period to your cell. They are;
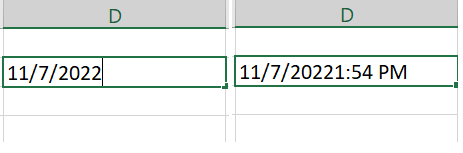
Insert date shortcut: To insert the date, you must press CTRL +; together, the function will execute in the selected cell.
Insert time shortcut: To insert the time, you must press CTRL + SHIFT +; together, the function will execute in the selected cell.
To insert the date and time together, we will first have to execute the date function and then the time function in the same cell. An Example of this is given below.

Sign Up for our Free Excel Modeling Crash Course
Begin your journey into Excel modeling with our free Excel Modeling Crash Course.
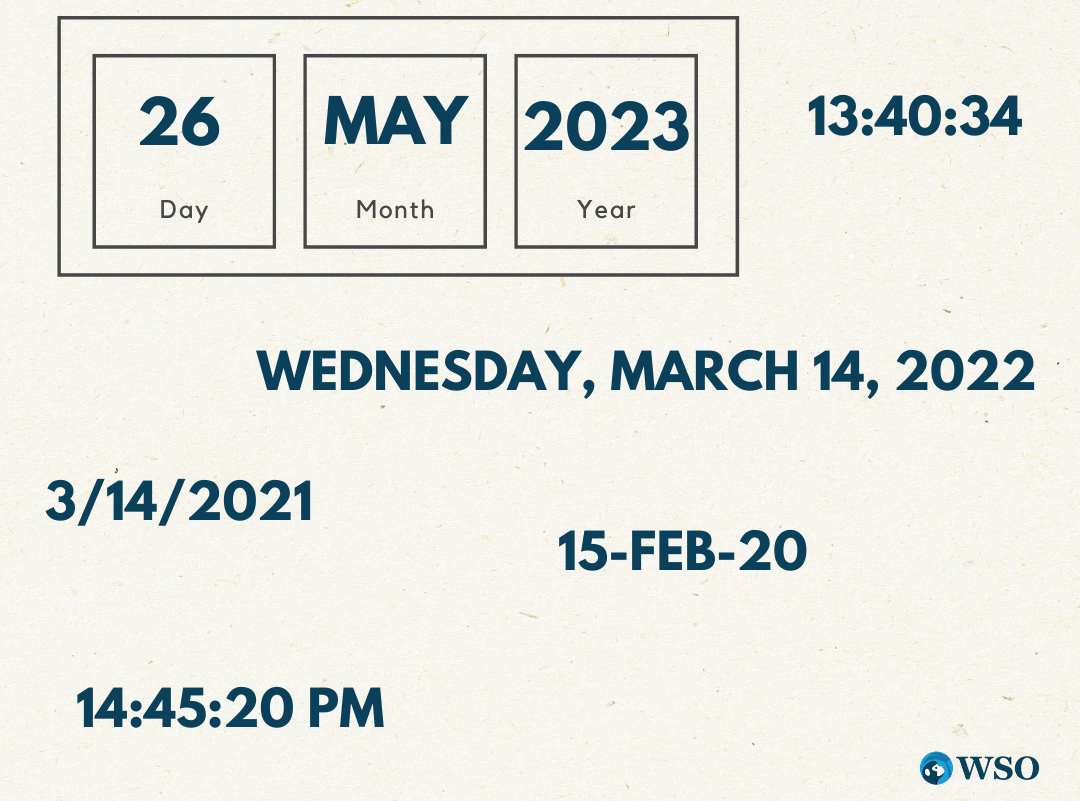
Excel Current Date and Time: Different formats
There are different ways and formats to show dates and times in excel. In our examples above, you can see the design is in numbers.
Since we have both date and time together in one cell, we already are using an excel based custom format. You can change the way each part of the calendar is shown by changing the format.
Suppose you want the date to have the month in the text rather than a number. You can do this by choosing from the various formats available in excel. You can also make a custom format of your own.
Likewise, you can also choose from different formats for time or make a custom format. Select the cell with the date and time and press CTRL + 1 to open the Format cell dialog box.
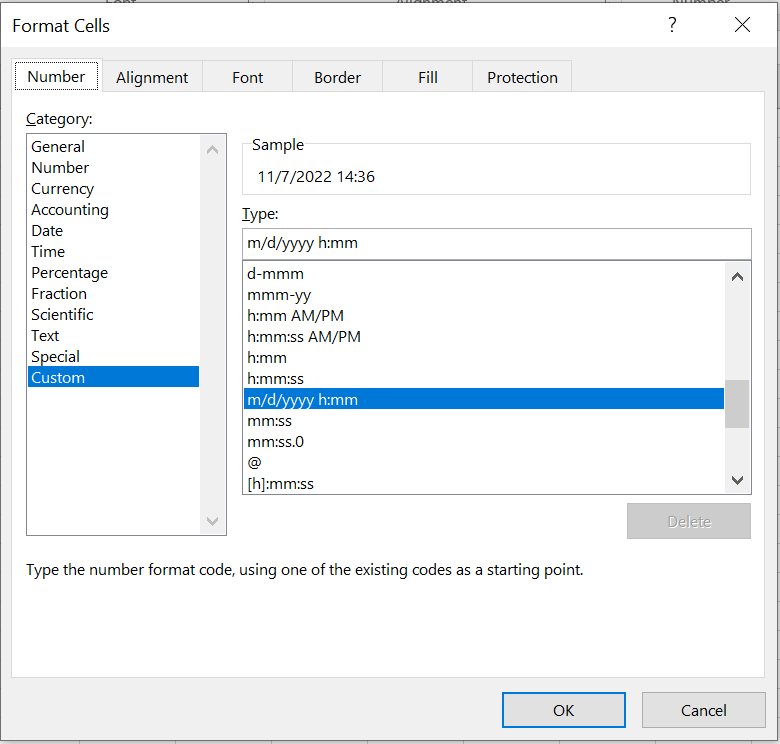
a. Changing date format:
To change the date format, press CTRL + 1 to open the Format cell dialog box and select the date category. You will see different formats; choose the one you want.
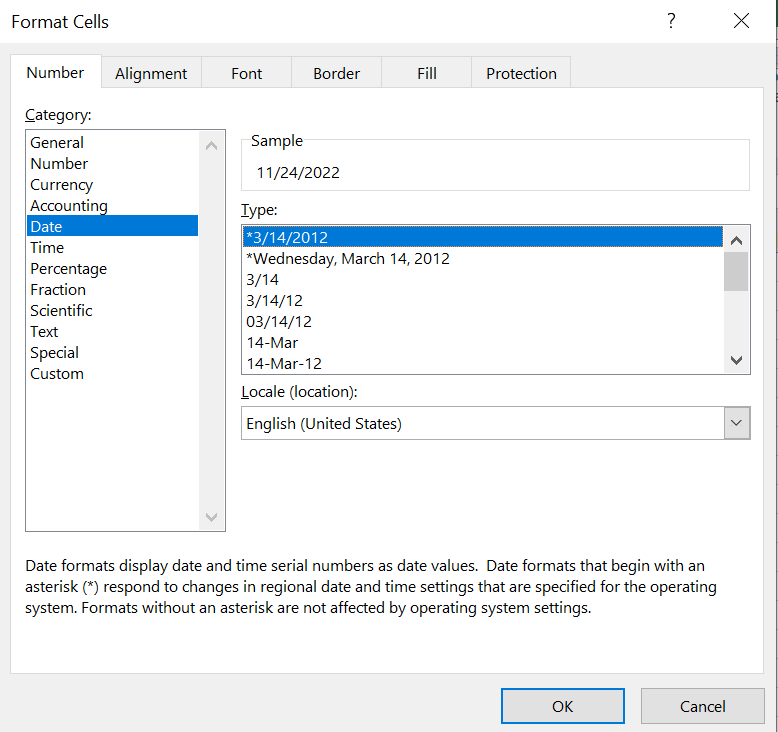
If you want a different format than available, you can also have a custom format. Select the last category, and in the Type box, you can manually change your layout.
Below, you will see a table containing all the formats for months, days, and years in Excel.
| To Display | Use this code |
|---|---|
| Months as 1-12 | m |
| Months as 01-12 | mm |
| Months as Jan-Dec | mmm |
| Months as January-December | mmmm |
| Months as the first letter of the month | mmmmm |
| Days as 1-31 | d |
| Days as 01-31 | dd |
| Days as Sun-Sat | ddd |
| Days as Sunday-Saturday | dddd |
| Years as 00-99 | yy |
| Years as 1900-9999 | yyyy |
Source: Microsoft
b) Changing time format
To change the time format, press CTRL + 1 to open the Format cell dialog box and select the time category. You will see different forms; choose the one you want.
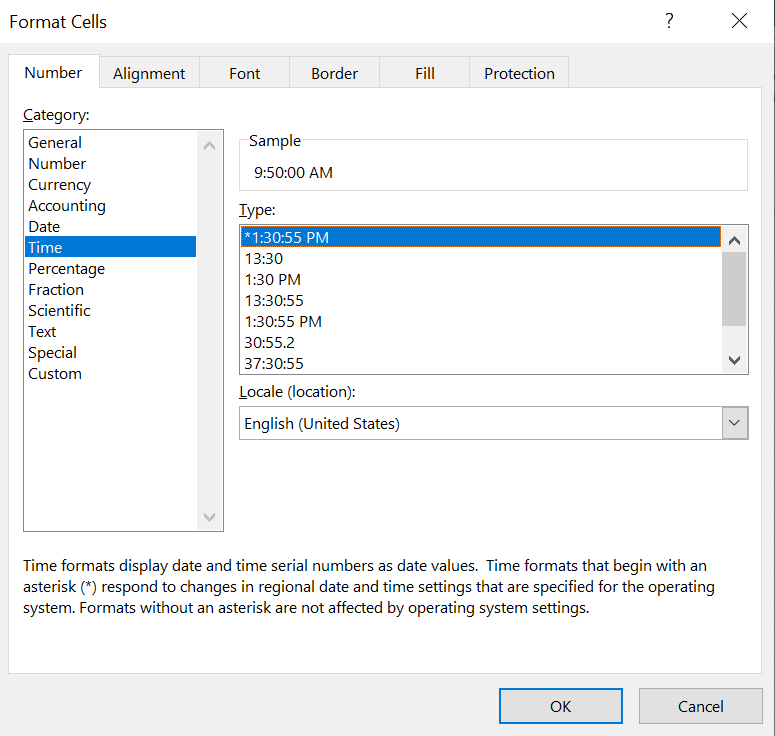
If you want a different format than available, you can also have a custom format. Select the last category, and in the Type box, you can manually change your format.
Below, you will see a table containing all the formats for the time in excel.
| To Display | Use this code |
|---|---|
| Hours as 0-23 | h |
| Hours as 00-23 | hh |
| Minutes as 0-59 | m |
| Minutes as 00-59 | mm |
| Seconds as 0-59 | s |
| Seconds as 00-59 | ss |
| Hours as 4 AM | h AM/PM |
| Time as 4:36 PM | h:mm AM/PM |
| Time as 4:36:03 P | h:mm:ss A/P |
| Elapsed time in hours; for example, 25.02 | [h]:mm |
| Elapsed time in minutes; for example, 63:46 | [mm]:ss |
| Elapsed time in seconds | [Ss] |
| Fractions of a second | h:mm:ss.00 |
Source: Microsoft

Everything You Need To Master Excel Modeling
To Help You Thrive in the Most Prestigious Jobs on Wall Street.
Power Query
Power Query is put, a data transformation tool that extracts, transforms, and loads data from different sources into excel. Power Query is a great and essential tool for people who work with data in various forms.

Power Query is used by professionals to connect data or execute changes in it. Power Query can work with multiple data sets together.
Remember the result from the Power Query is dynamic and can be refreshed to see the current result.
Steps to use Power Query
Step 1:
In the Data tab, in the Get and Transform section, click on the New Query drop-down list, and in Other Sources, select Blank Query.
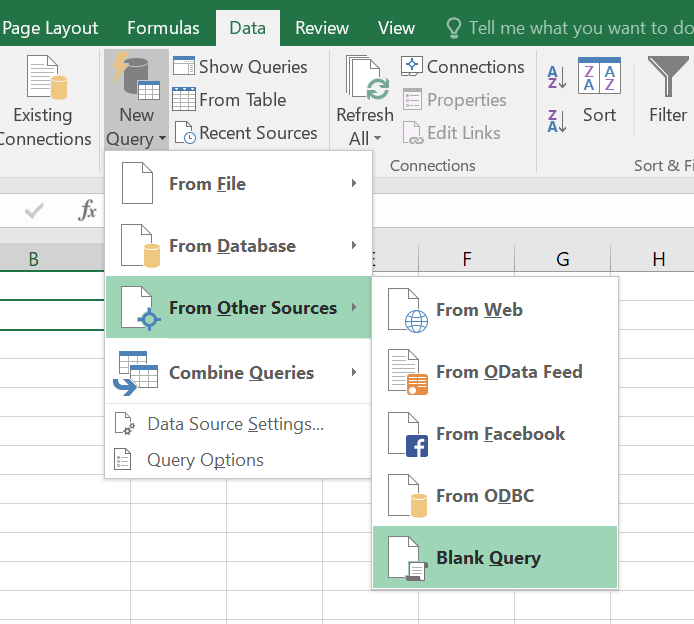
Step 2:
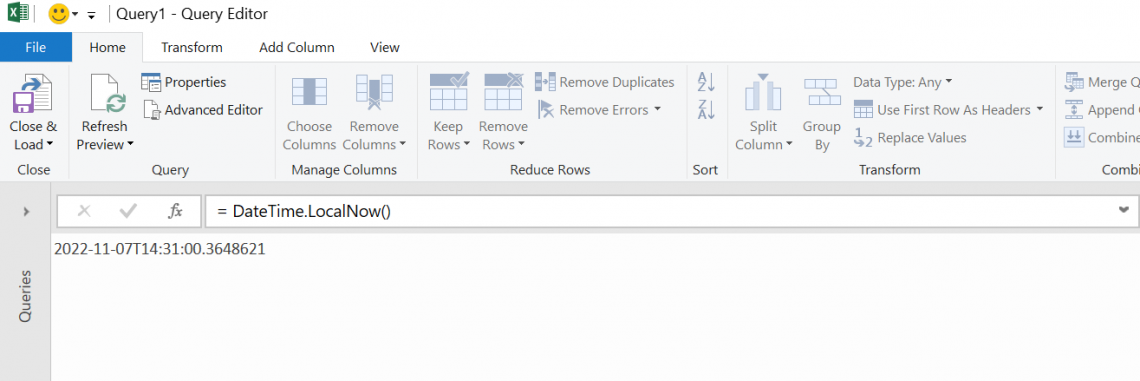
The Query Editor box will open. Here, in the formula tab, type the formula given below.
= DateTime.LocalNow()
Step 3:
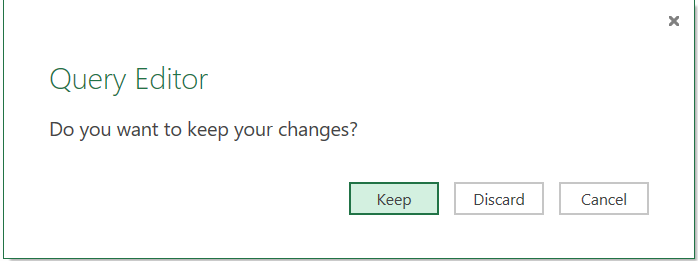
Close the window, and you will see a box asking you to keep the changes or not. Click on keep to save.
Step 4:
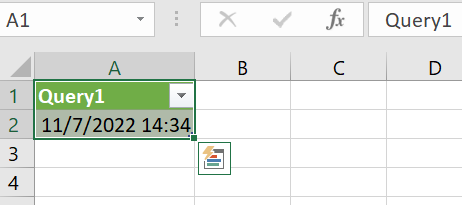
After saving, you will see the current date and time under the heading Query1.
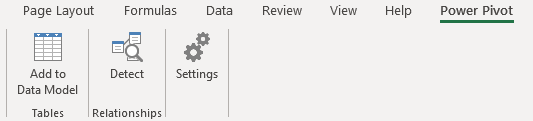
Power Pivot
Power Pivot is a data modeling and analysis tool in Excel. It is helpful as it helps manage large sets of data and also creates relationships between them.

It is used by enterprises and professionals for data analysis and mining and can help find and create relationships between data with the help of calculations.
Power pivot is available as an add-in in excel 2010 and 2013 and Office Professional 2016.
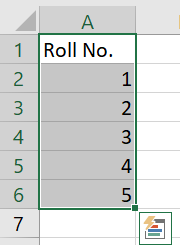
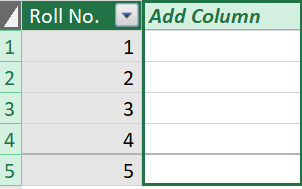
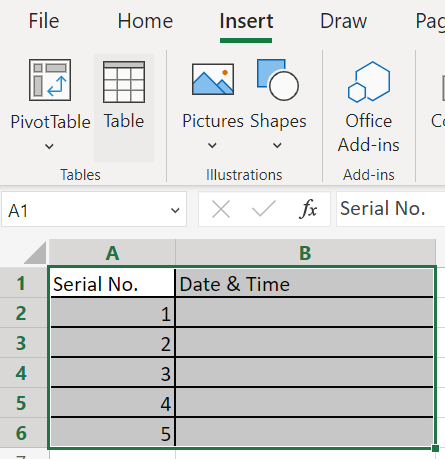
We will need a table with data in excel to add to our data model. We have used a basic table in our example.
Steps to use Power Pivot
Step 1:
You will see Power Pivot Tab when added in. There go to Add to Data Model.
Step 2:
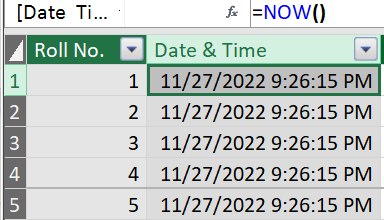
You will see the Power Pivot editor open with the data set already in. Double-click the Add Column and type Date.
Step 3:
In the second column, Type the =Now function the same as in excel; the whole column will automatically fill with the current date and time.
Step 4:
Close the editor and in the worksheet, open the Insert tab and click Pivot table.
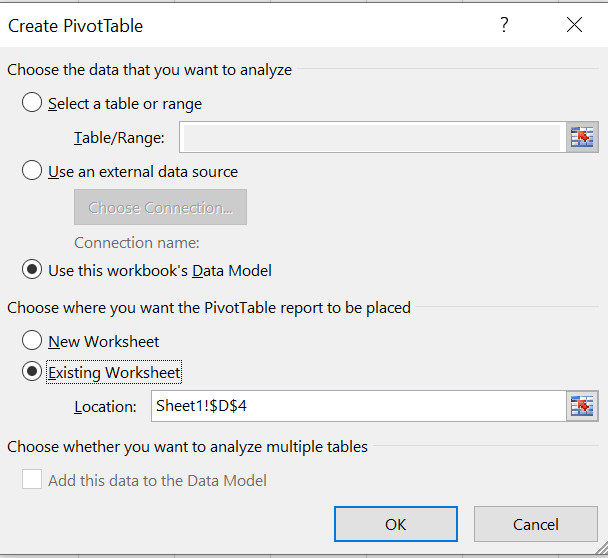
Step 5:
A pop-up box asking for the location of the Pivot table will be displayed. Here we have selected the existing worksheet and cell D4; you can choose whichever sheet and cell you want.
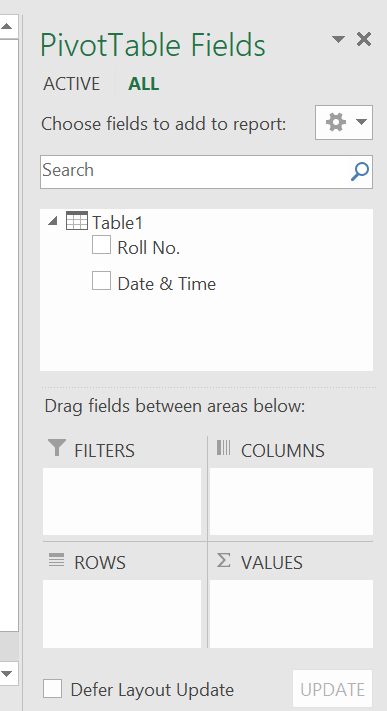
Step 6:
The Pivot table fields will open on the right-hand side. Click on Table 1 and drag the Roll no. field and drop it in the rows area below. Do the same for the date and time.
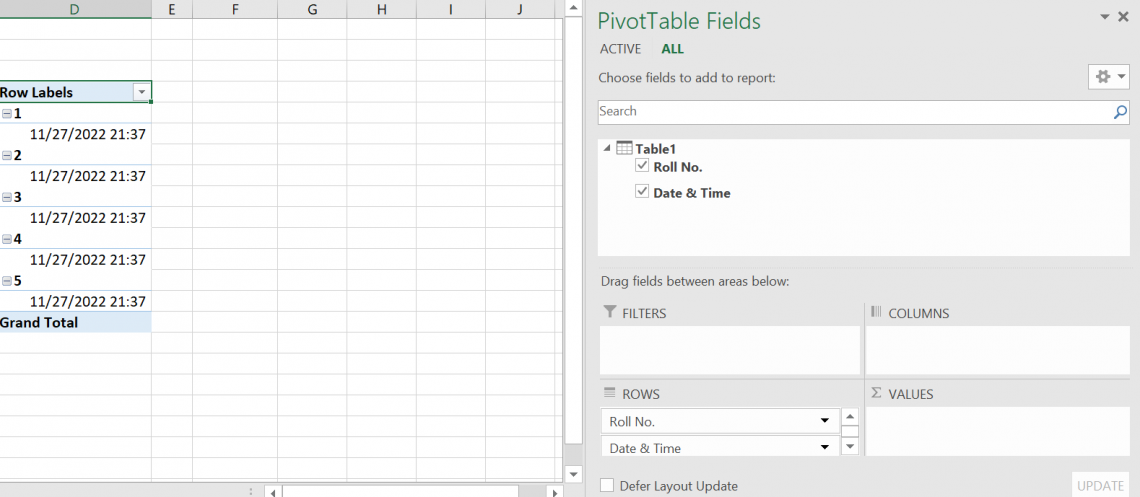
Step 7:
You will see the current date and time displayed below each Roll no.
Sign Up for our Free Excel Modeling Crash Course
Begin your journey into Excel modeling with our free Excel Modeling Crash Course.
Power Automate
Power Automate is a tool provided by Microsoft to automate recurring tasks. It was previously called Microsoft Flow. It can help you utilize your time in more productive and essential activities by automatically doing simple tasks.

It is available in Microsoft 365 online to automate online Microsoft apps, or you can also download a desktop app to use it for installed Microsoft 365 applications.
Before automating our task, we will need a table with data in excel online, which needs updating. We have used a basic table in our example.
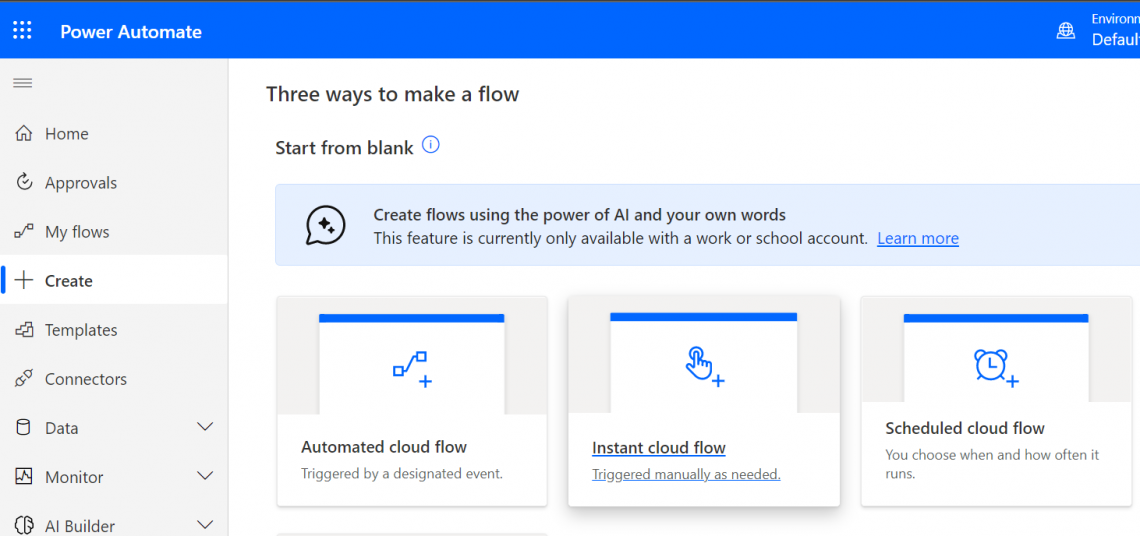
Steps to use Power Automate
Step 1:
Open your Power Automate in your Microsoft Office.
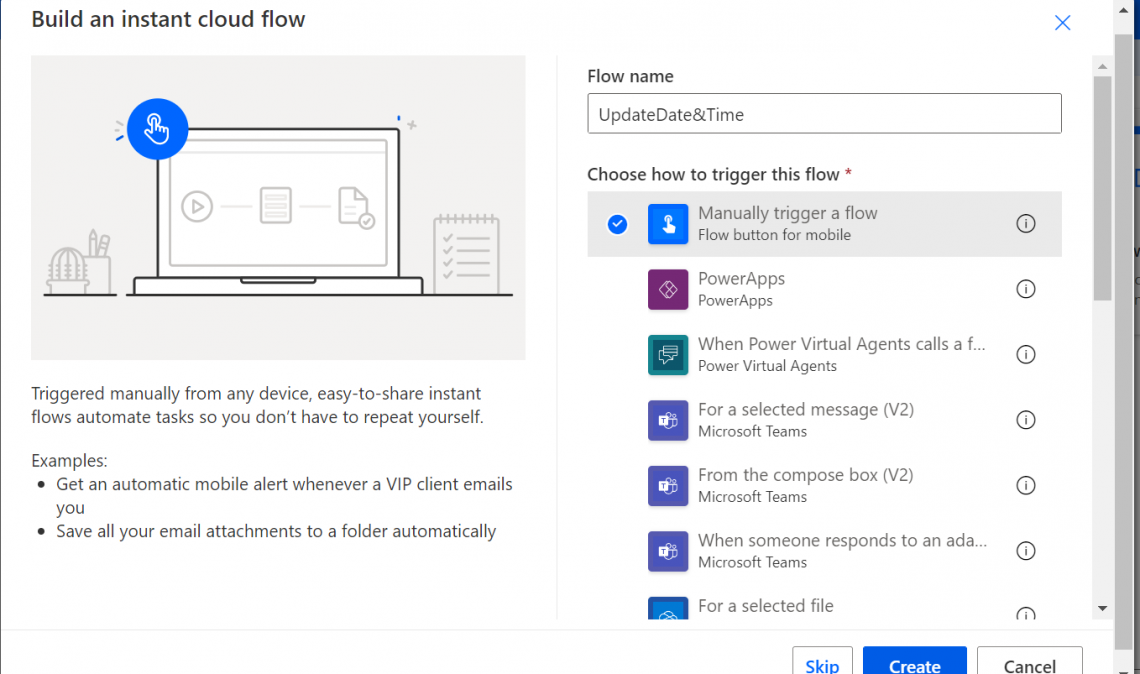
Step 2:
Click on Instant cloud flow; you will see a pop-up asking you how to trigger a flow. Here we will manually trigger a flow and rename the flow as well. Click on create down below.
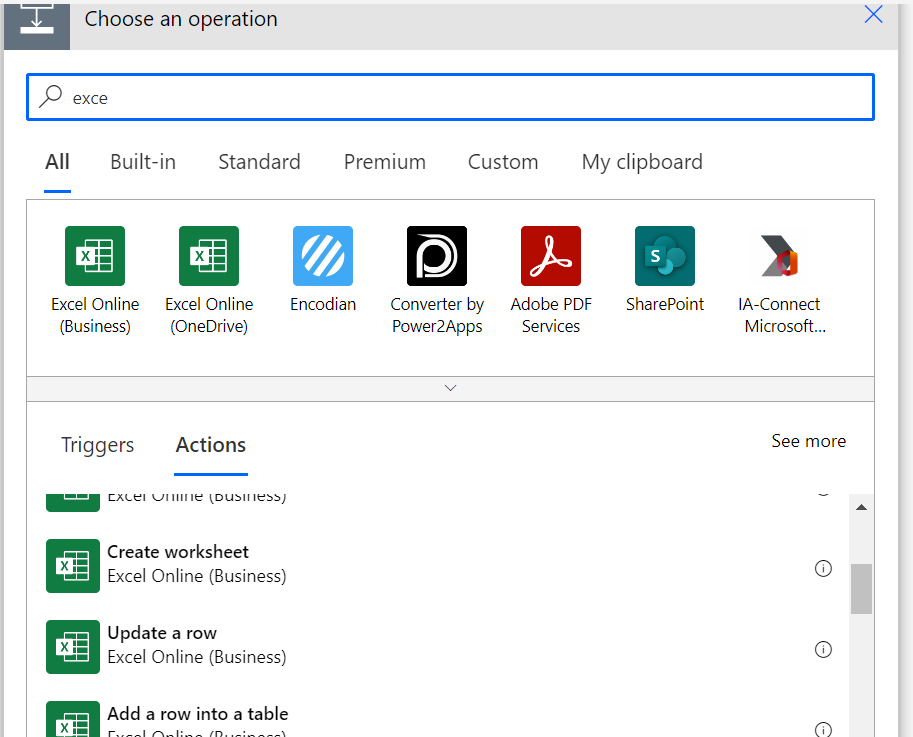
Step 3:
The flow editor will open. Here click on the Next step below to choose an operation.

Step 4:
Here we chose Excel Onedrive as our connector, and our action is to update a row.
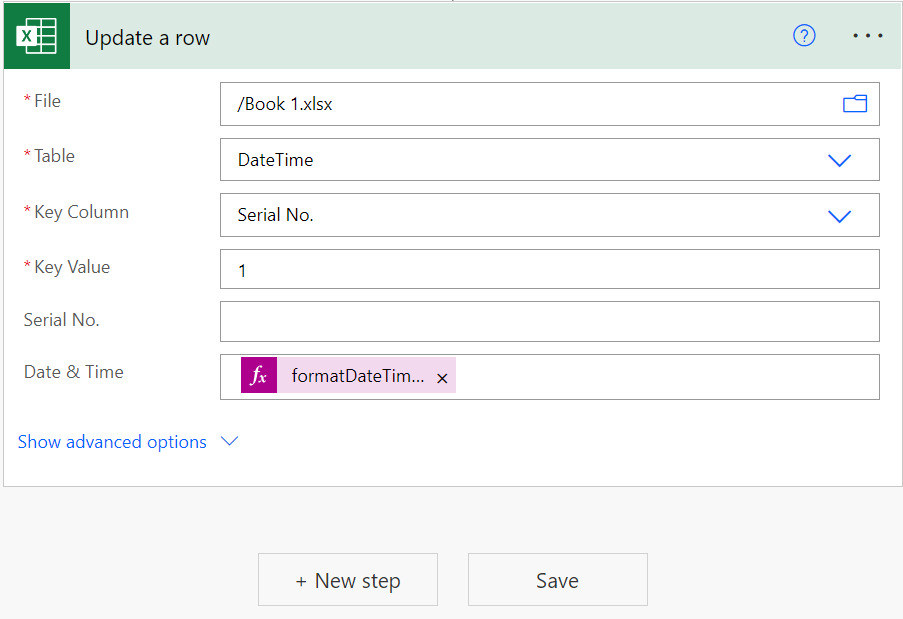
Step 5:
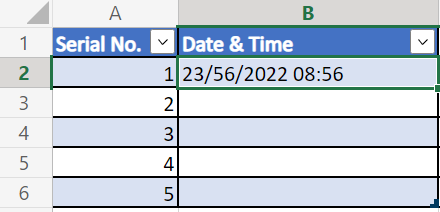
A box asking for the details of the Excel file and the information to be updated will open. In the file, choose the file you have your data in; here, it's Book 1. To choose the table, click on the drop-down and select the table with the data; in our example, it is DateTime.
The key column is a unique identifier column in the table; here, it is the Serial No. The key value is the row number you want to update; we will update row 1 first.
We will write an expression in the Date & Time column to get the current date and time. In Power Automate, the current date and time are in UTC, and you have to convert them into your local time. After filling in all the information, we will save our Flow.
=formatDateTime(convert from UTC(utcNow(), 'Arabian Standard Time), 'dd/mm/yyyy hh: mm)
Step 6:
In the top right corner, click on the flask to test the flow. A box asking you how to test the flow will open; select manually and click Save and Test. A confirmation box reconfirming whether you want to run the flow will be seen; click Run flow.

Step 7:
The row will automatically be updated in excel.
Practical Example 1
There can be many situations where you may need the current date and time in your excel workings. One such situation is when you need to add a set number of days from the current date and time to arrive at a future deadline date.
Add or Subtract days
To add or subtract days, write the number of days you want to add or subtract in a different cell.
Then in a third cell type =D2 + E2
Excel automatically will understand that cell E2 contains a date and will sum accordingly.
Add or Subtract time
To add or subtract time, write the time you want to add or remove in a different cell.
Then in a third cell type =D2 + E2
Excel automatically will understand that cell E2 contains time and will sum accordingly.
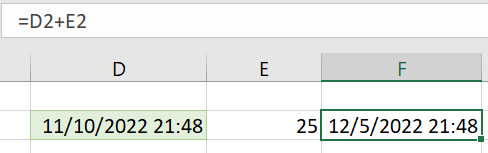
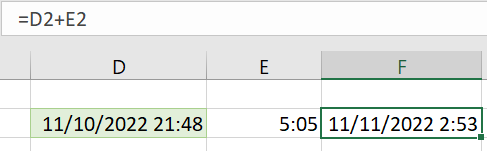
Add or Subtract the date and time.
You see that it's easy to add days or times individually from our current date and time, but if you want to add them together, you see an error. To circumvent that, type the number of days in one cell and the time in another, then add the three cells together.
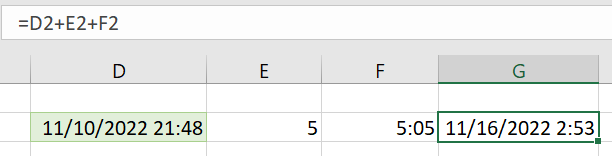
Here, in E2, we have the number of days, and in F2, the time to be added both in different cells.
Add or Subtract Months
To add or subtract months is tricky because if you type a number, excel thinks it's the number of days and not months. For this, you will need an additional formula called EDATE.
The function is simple and requires only two arguments, the cell with the start date and the number of months. For subtraction, enter a negative number.

To also add the time, you will have to add it separately after executing the EDATE function.
Add or Subtract Years
To add or subtract years needs a formula for execution. The procedure does not have a name. Thus, it has to be typed manually.
=DATE(YEAR(D2)+E2,MONTH(D2),DAY(D2))
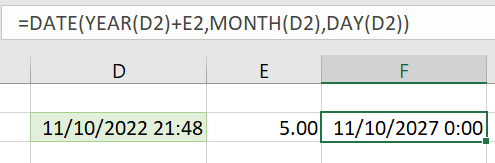
The formula adds the years and keeps the months and days the same as the original cell.
Key Takeaways
- The current date and time are derived from the computer system.
- When you share an Excel sheet with a dynamic function, the result will be based on their time zone.
- To refresh the worksheet, go to the Data tab and click Refresh All under the Connections section. Alternatively, you can press Ctrl + Alt + F5.
- Remember the result from the Power Query is static and will need to be refreshed to see the current result. To restore your query, click Refresh in the Query Tab.
- In Power, Automate, make sure you choose the right Excel connector, or else you will get an error. If your file is in OneDrive, choose Excel online OneDrive; if you have Excel online for Business, choose Excel online Business as your connector.
Everything You Need To Master Excel Modeling
To Help You Thrive in the Most Prestigious Jobs on Wall Street.

or Want to Sign up with your social account?